


 English (English)
 Deutsch (German)
 Čeština (Czech)
 Italiano (Italian)
 Hrvatski (Croatian)
 Română (Romanian)
 български език (Bulgarian)
 Magyar (Hungarian)
 Español (Spanish)
 Français (French)
 Nederlands (Dutch)
 Polski (Polish)
 Slovenčina (Slovak)
What is plant cloning and why is it worth doing?
Cloning is a vegetative propagation method where you take parts from a mother plant – typically shoots, or cuttings – and grow genetically identical offspring from them. Unlike seed propagation, you get an exact copy of the mother plant: the same growth pattern, aroma, yield, and disease resistance. For experienced growers, cloning is routine. For beginners, it might seem complicated at first, but once you understand the basics, it becomes one of the most natural processes in your grow room.
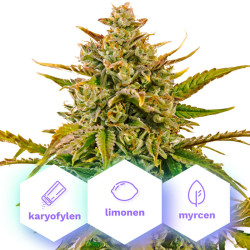
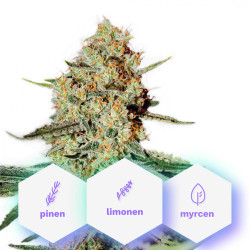

The biggest advantage of cloning lies in predictability. You know exactly what you're growing because you've grown it before. You save time compared to seed germination, you eliminate concerns about male plants, and the entire cycle becomes much more efficient. On the other hand, cloning requires a healthy mother plant, proper conditions, and some patience during the rooting process.
Selecting the Mother Plant – The Foundation of Successful Cloning
The quality of a clone depends directly on the quality of the mother. The rule is simple: only clone healthy, vigorous plants without any signs of disease, pest damage, or nutritional deficiency. A stressed or weakened mother plant will pass its problems on to the clones.
What to look for when choosing a mother plant
- Healthy leaves – vibrant green, without spots, chlorosis, or deformations
- Compact, firm growth – no excessive stretching between nodes
- Absence of pests – carefully inspect the undersides of leaves
- Proper nutrition – reduce nitrogen dosage at least a week before taking cuttings; excess nitrogen slows rooting
- Vegetative phase – cuttings are best taken from plants in vegetative growth, not flowering specimens
Preparation Before Taking Cuttings
Successful cloning begins long before you pick up a scalpel or scissors. Prepare your workspace, tools, and rooting medium before you start, because every minute a cutting spends without water or medium reduces its chance of survival.
What you'll need
- Sharp scalpel or knife – a dull blade crushes tissue and complicates rooting; always disinfect your tool with alcohol
- Rooting medium – rootcubes, jiffy pellets, or growing blocks; each medium has its advantages (see below)
- Rooting gel or powder – contains auxins that stimulate root formation
- Propagator – a closed cover maintains high air humidity, which is crucial for fresh cuttings
- Heating mat – stabilizes substrate temperature and significantly speeds up rooting
- Glass of water or clean substrate – for temporary storage of cuttings
How to Properly Take a Cutting
The cutting technique is one area where beginners often make mistakes. Pay attention to it, and results will follow.
Step-by-step: taking a cutting
- Select a shoot 8–15 cm long with at least two nodes. An ideal choice is a side shoot from the lower third of the mother plant – these are usually more mature and root better.
- Cut below the node – make the cut just below the node at a 45-degree angle. The angled cut increases the surface area through which the cutting absorbs water and prevents rot, which forms more easily on flat cuts.
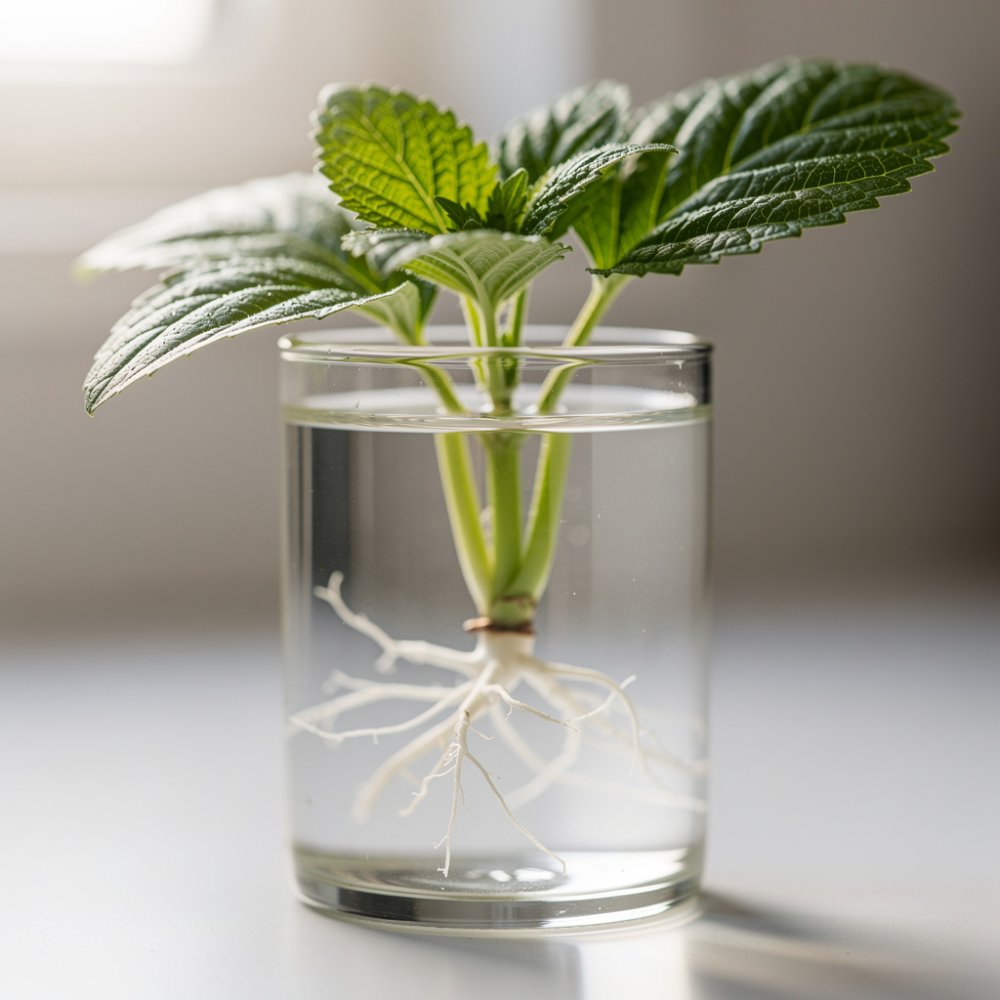
- Immediately place in water – right after cutting, submerge the bottom of the cutting in a glass of water to prevent air from entering the vessels.
- Remove lower leaves – keep only 2–3 pairs of leaves at the top. Excess leaf surface increases water loss and exhausts the cutting before it can root.
- Apply rooting agent – dip the bottom centimeter of the cutting in rooting gel or dust with powder. Don't overdo it – too much product can burn the tissue.
- Plant in medium – gently push the cutting into pre-moistened rootcube, jiffy pellet, or other substrate. Don't force it, or you'll wipe off the rooting agent.
Rooting Media: Rootcubes, Jiffy Pellets, and More
Choosing the right rooting medium is one of the decisions that directly impacts results. Each medium works slightly differently and suits different growing situations.
Rootcubes
Rootcubes are compressed growing blocks made from natural fibers or mineral wool. They offer an ideal air-to-water ratio, are easy to handle, and roots grow through them evenly. After rooting, they can be transplanted directly into larger substrate or a hydroponic system without removing the root ball. They work well for both cloning and seed starting.
Jiffy Pellets
Jiffy pellets are compressed peat or coconut pellets wrapped in biodegradable netting. Before use, soak them in water – they expand and are ready to go. Their main advantage is the natural organic component, which supports microbial activity and healthy root development. They're very popular for both cloning and seed germination – if you want to learn more about germination, read our article How to Successfully Germinate Seeds: Methods and Tips.
Perlite or Coconut Substrate
More experienced growers sometimes root directly in light perlite or coconut fiber-based substrate. This approach requires precise watering – the medium must be moist but never waterlogged. Overwatering is one of the most common causes of failure when cloning in substrate.
Propagator: Your Best Helper in Cloning
A propagator is a closed container – usually a plastic tray with a clear lid – that creates a microclimate with high air humidity. Cuttings don't have roots yet, so they can't absorb water from the substrate. The only way they can hydrate is by absorbing moisture through their leaves. That's why high relative humidity (ideally 80–95%) in the first days after cutting is absolutely essential.
How to use a propagator correctly
- Disinfect the propagator before use – residual organic matter feeds mold growth
- Close the lid immediately after planting cuttings
- Open the lid briefly once a day for air exchange – 5 minutes is usually enough
- After 3–5 days, gradually increase ventilation so cuttings adapt to lower humidity
- Don't place the propagator in direct sunlight – condensation and overheating can damage rooting
Heating Mat: Why Temperature Matters
Substrate temperature is a factor often underestimated in cloning discussions, yet it has a crucial impact on rooting speed and success. Roots form best at a substrate temperature of 22–26°C. Below this range, enzymatic processes are slow, rooting takes longer, and pathogen infection risk increases.
A heating mat placed under the propagator keeps the medium in the optimal temperature range regardless of ambient conditions. This is especially important in cooler environments or winter months. Modern heating mats feature a thermostat to prevent overheating – substrate temperatures above 28°C actually slow rooting and can damage roots.
Lighting During Cloning
Cuttings don't need intense light – in fact, too strong a light source stresses them and increases water loss. In the first days, weak fluorescent or LED panels with a color temperature around 6400 K (cool white) are sufficient. The ideal photoperiod for rooting is 18 hours light and 6 hours darkness.
As roots begin to develop, you can gradually increase light intensity and prepare the cuttings for full grow lights.
Monitoring the Rooting Process
How do you know cloning is going well? In the first 24–48 hours, cuttings will wilt slightly – that's a normal stress response. If they stay upright and start reviving after two days, that's a good sign. Rooting typically takes 7–14 days depending on plant type, temperature, humidity, and medium used.
Signs of successful rooting
- White roots poke through the walls of rootcubes or jiffy pellets
- New leaves or shoots begin growing from nodes
- The cutting stands upright and leaves are crisp and turgid
- When gently pulled, the cutting holds firmly in the medium
Common problems and solutions
- Wilting and yellowing leaves – usually caused by low air humidity or overheating; check the propagator lid and temperature
- Mold on medium – poor air circulation or overwatered substrate; increase ventilation and let the medium dry slightly
- Cuttings don't form roots even after 14 days – probably substrate temperature too low or a stressed mother plant; try a heating mat and choose a healthier mother next time
- Rot at the base of the cutting – overwatered medium or contaminated tools; disinfect equipment and reduce watering
Transplanting Rooted Clones
Once roots have grown through the medium and clones show active growth, it's time to transplant. Do it carefully – the root system of young clones is still fragile. Transplant rootcubes and jiffy pellets whole, without removing roots from the medium. Prepare your target substrate, create a proper hole, and place the clone so the rooting block is completely covered.
After transplanting, water the cuttings lightly and cover them with a clear plastic bag or return them to the propagator with the lid slightly open for the first 1–2 days. This transition reduces stress from the sudden environmental change.
Planting Tool and Other Helpful Equipment
When working with seedlings – whether clones or seed-started plants – you'll appreciate a dibber or planting tool, a specialized stick or tool for creating precisely sized holes in substrate. With a dibber, you're not making holes with your finger and needlessly compacting the medium around roots. The result is more even rooting and less risk of mechanical damage.
Another useful tool is labels and permanent markers – when cloning multiple genotypes at once, you'll quickly lose track without marking your cuttings. Even experienced growers with years of practice swear by this.
Cloning vs. Seed Starting: When to Choose What?
Cloning and seed starting aren't competing approaches – they're complementary strategies, each suited for different situations.
- Choose cloning if you have a proven mother plant with traits you want to preserve, and you want to quickly multiply existing genetics without needing to select for sex or phenotype
- Choose seed starting if you're looking for new genetics, want to start from scratch with maximum seedling vigor, or don't have a mother plant available
Both methods can be combined: select the best phenotype from seeds, create a mother plant from it, and then multiply exclusively through cloning. This strategy is standard in professional growing.
Summary: Keys to Successful Cloning
Cloning isn't magic – it's a combination of proper technique, suitable equipment, and consistent care of conditions. If you remember just five things from this article, let them be these:
- Always start with a healthy mother plant – a problematic mother produces problematic clones
- Work quickly and cleanly – disinfect tools, immediately place cuttings in medium
- Maintain high air humidity in the propagator, especially in the first days
- Monitor substrate temperature with a heating mat – the ideal is 22–26°C
- Be patient – rooting can't be rushed by force, but it can be slowed by unnecessary stress
With each cloning cycle, confidence and routine will come. Equipment like quality propagators, rootcubes, jiffy pellets, and heating mats will significantly ease the process and increase your rooting success rate. Everything you need for cloning and plant propagation is available in Cannapio.cz's selection.